
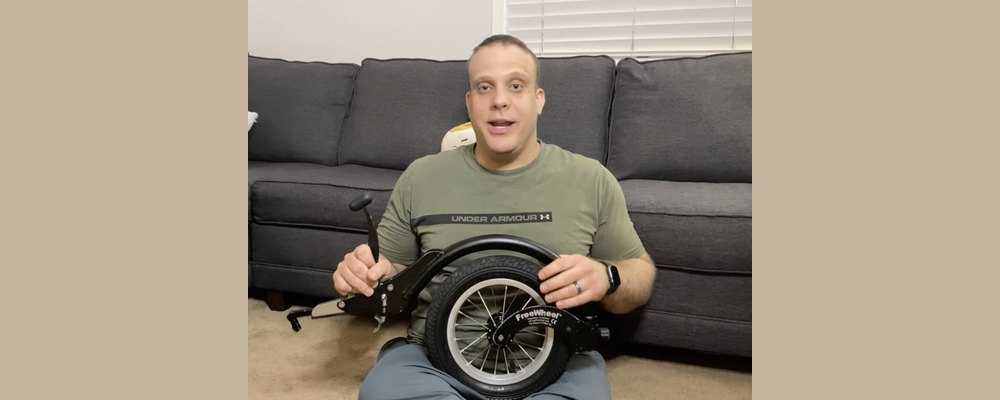
Freewheel Wheelchair Attachment: Review and Setup Guide

You're rolling through an old European city and you hit the cobblestones. Or you're at the beach and your front casters immediately sink into the sand. Or you're on a trail that looked manageable on the map but is a lot rougher in person. That moment, where you're doing mental math on whether you can push through, gets old fast.
I've been using the Freewheel attachment for about eight years now, and it's become one of those pieces of gear I consider non-negotiable for any trip where the terrain is going to be unpredictable. This isn't a first-look review. It's an updated take on how the Freewheel actually performs over time, plus an honest walkthrough of setup, including a few adjustments I figured out the hard way.
What the Freewheel Does (and Where It Shines)
The Freewheel is a single-wheel attachment that clamps onto the front of your manual wheelchair at the foot plate. Once it's swung into position, it lifts your front casters off the ground. How high depends on your setup. I typically max mine out at around two to two-and-a-half inches of clearance.
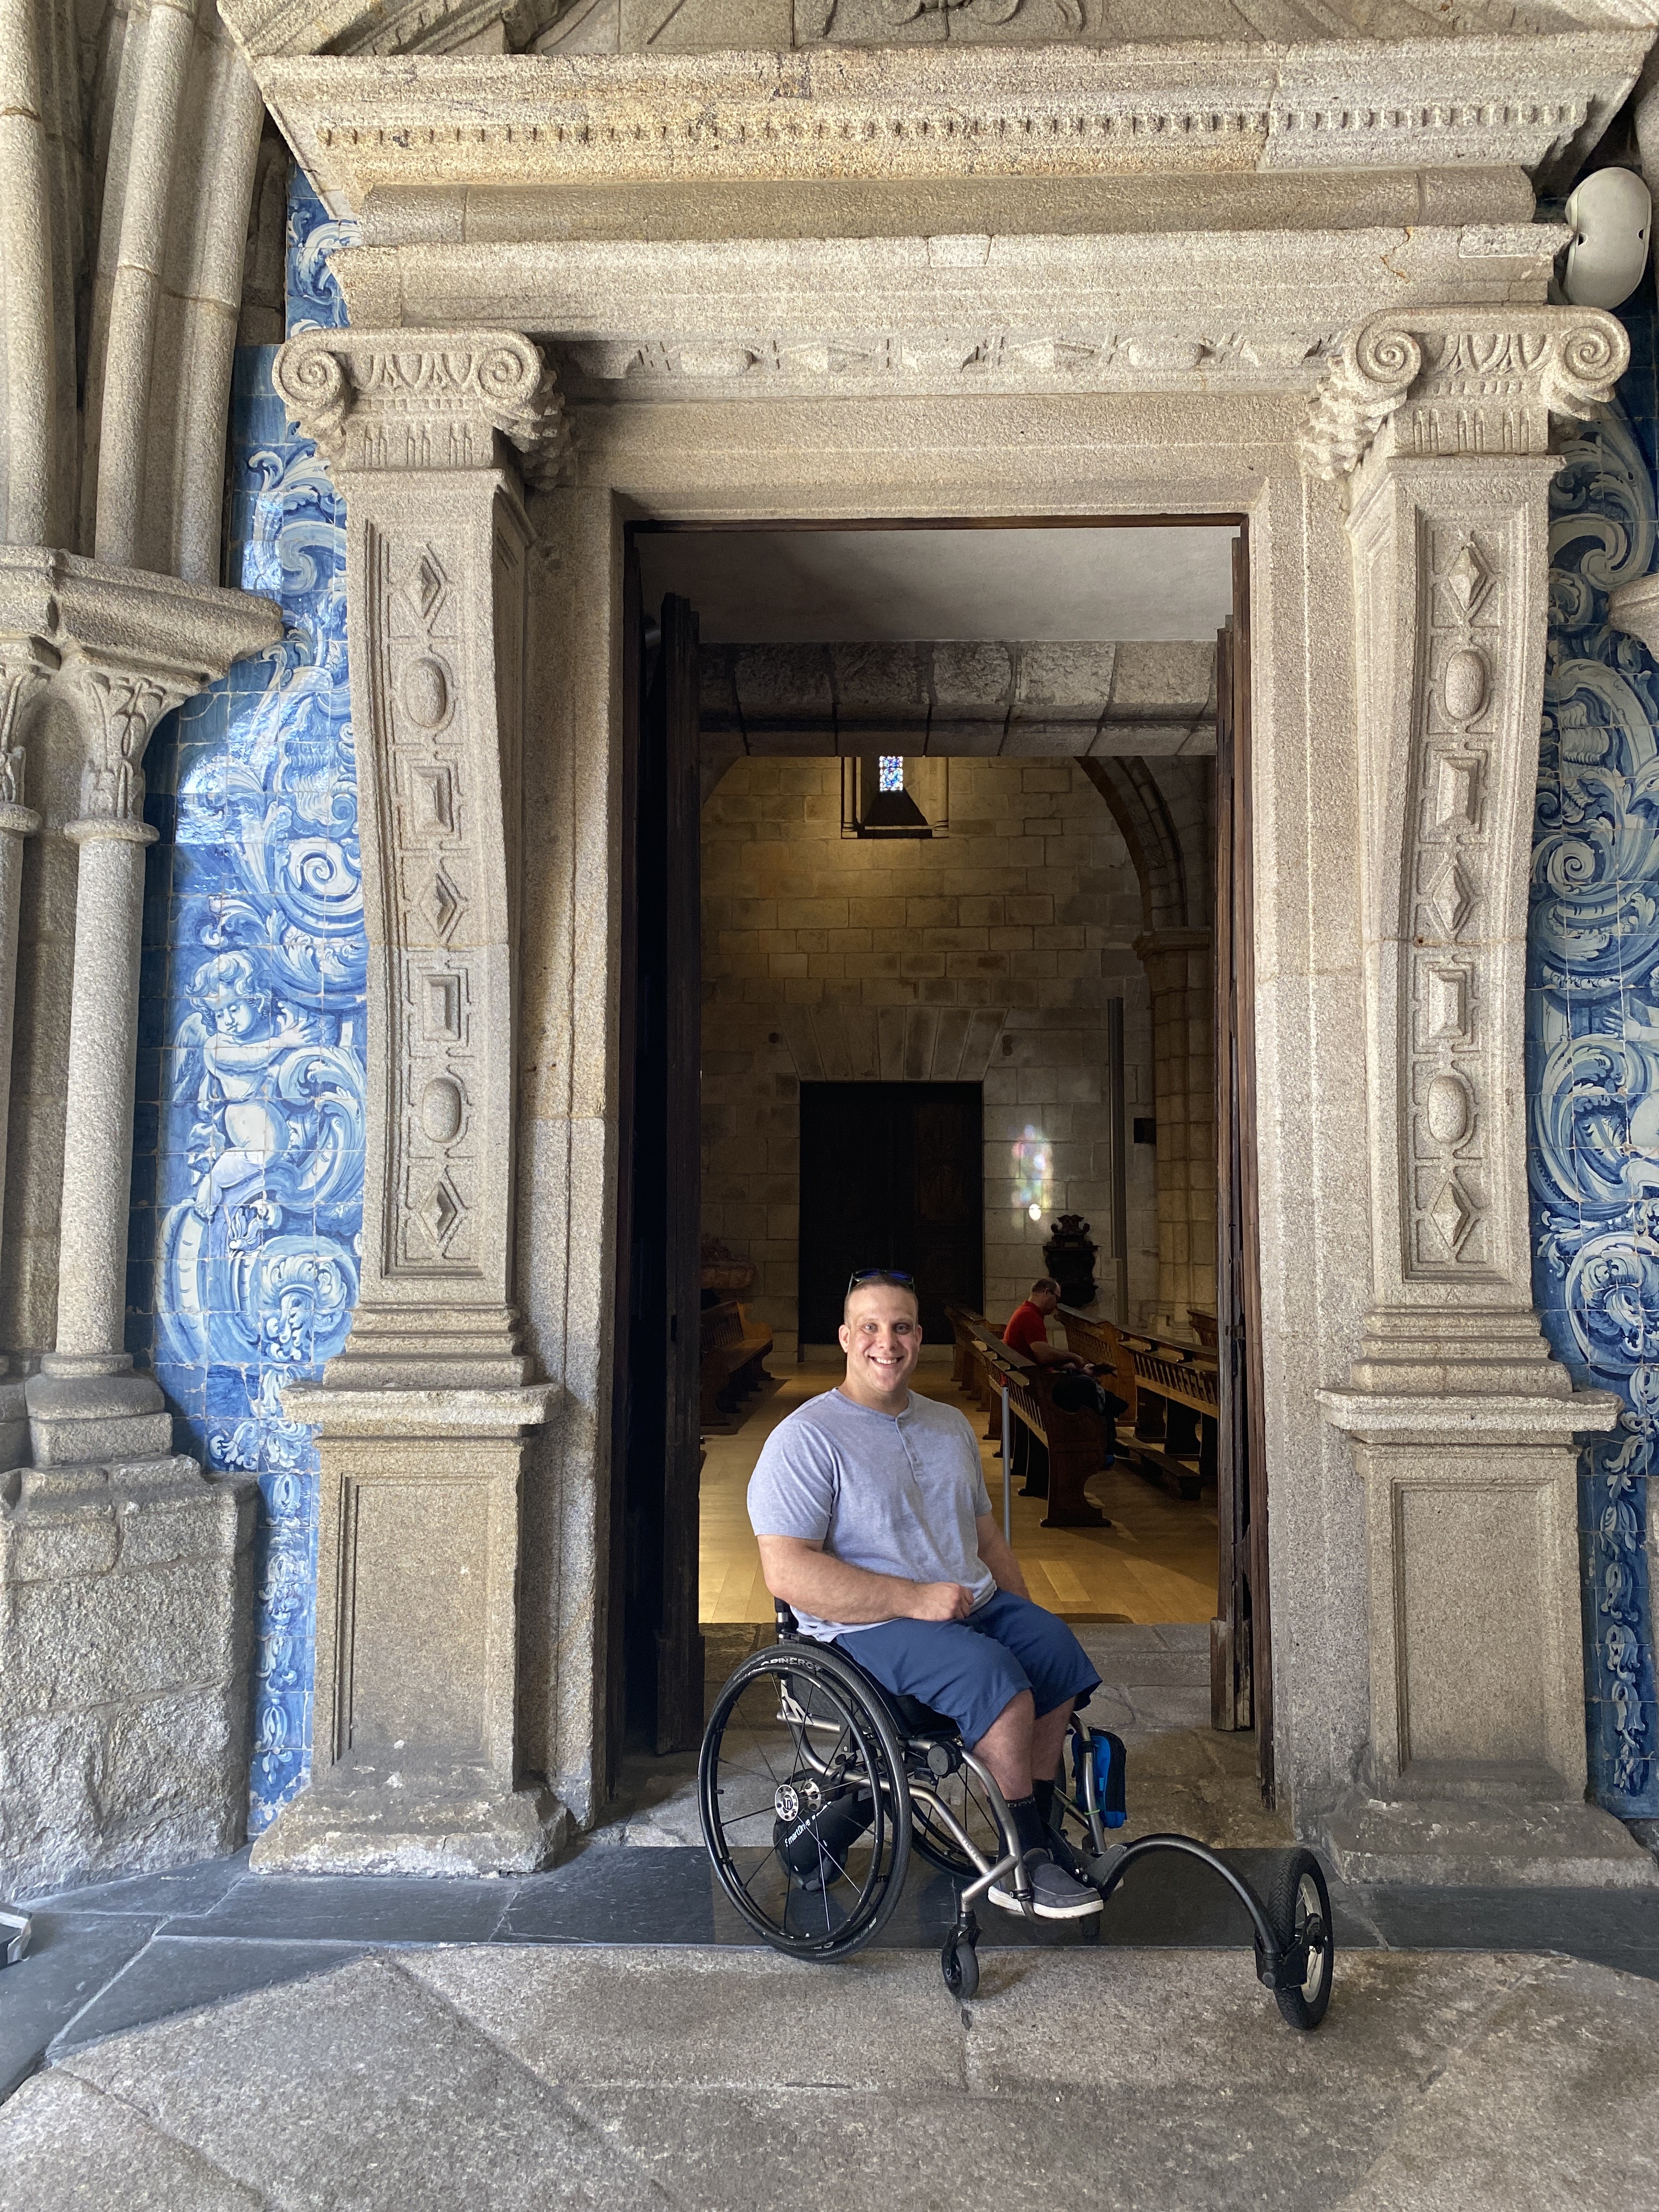
That might not sound like much, but it changes everything. When your casters aren't touching the surface, they can't dig in, catch on, or drop into cracks. Your chair is essentially riding on one large front wheel instead of two small casters, and that bigger wheel rolls over obstacles instead of getting stuck on them.
The common thread is any surface where your front casters would normally slow you down or force you to stare at the ground two steps ahead. With the Freewheel on, you can actually have your head up and take in where you are. I take mine on:
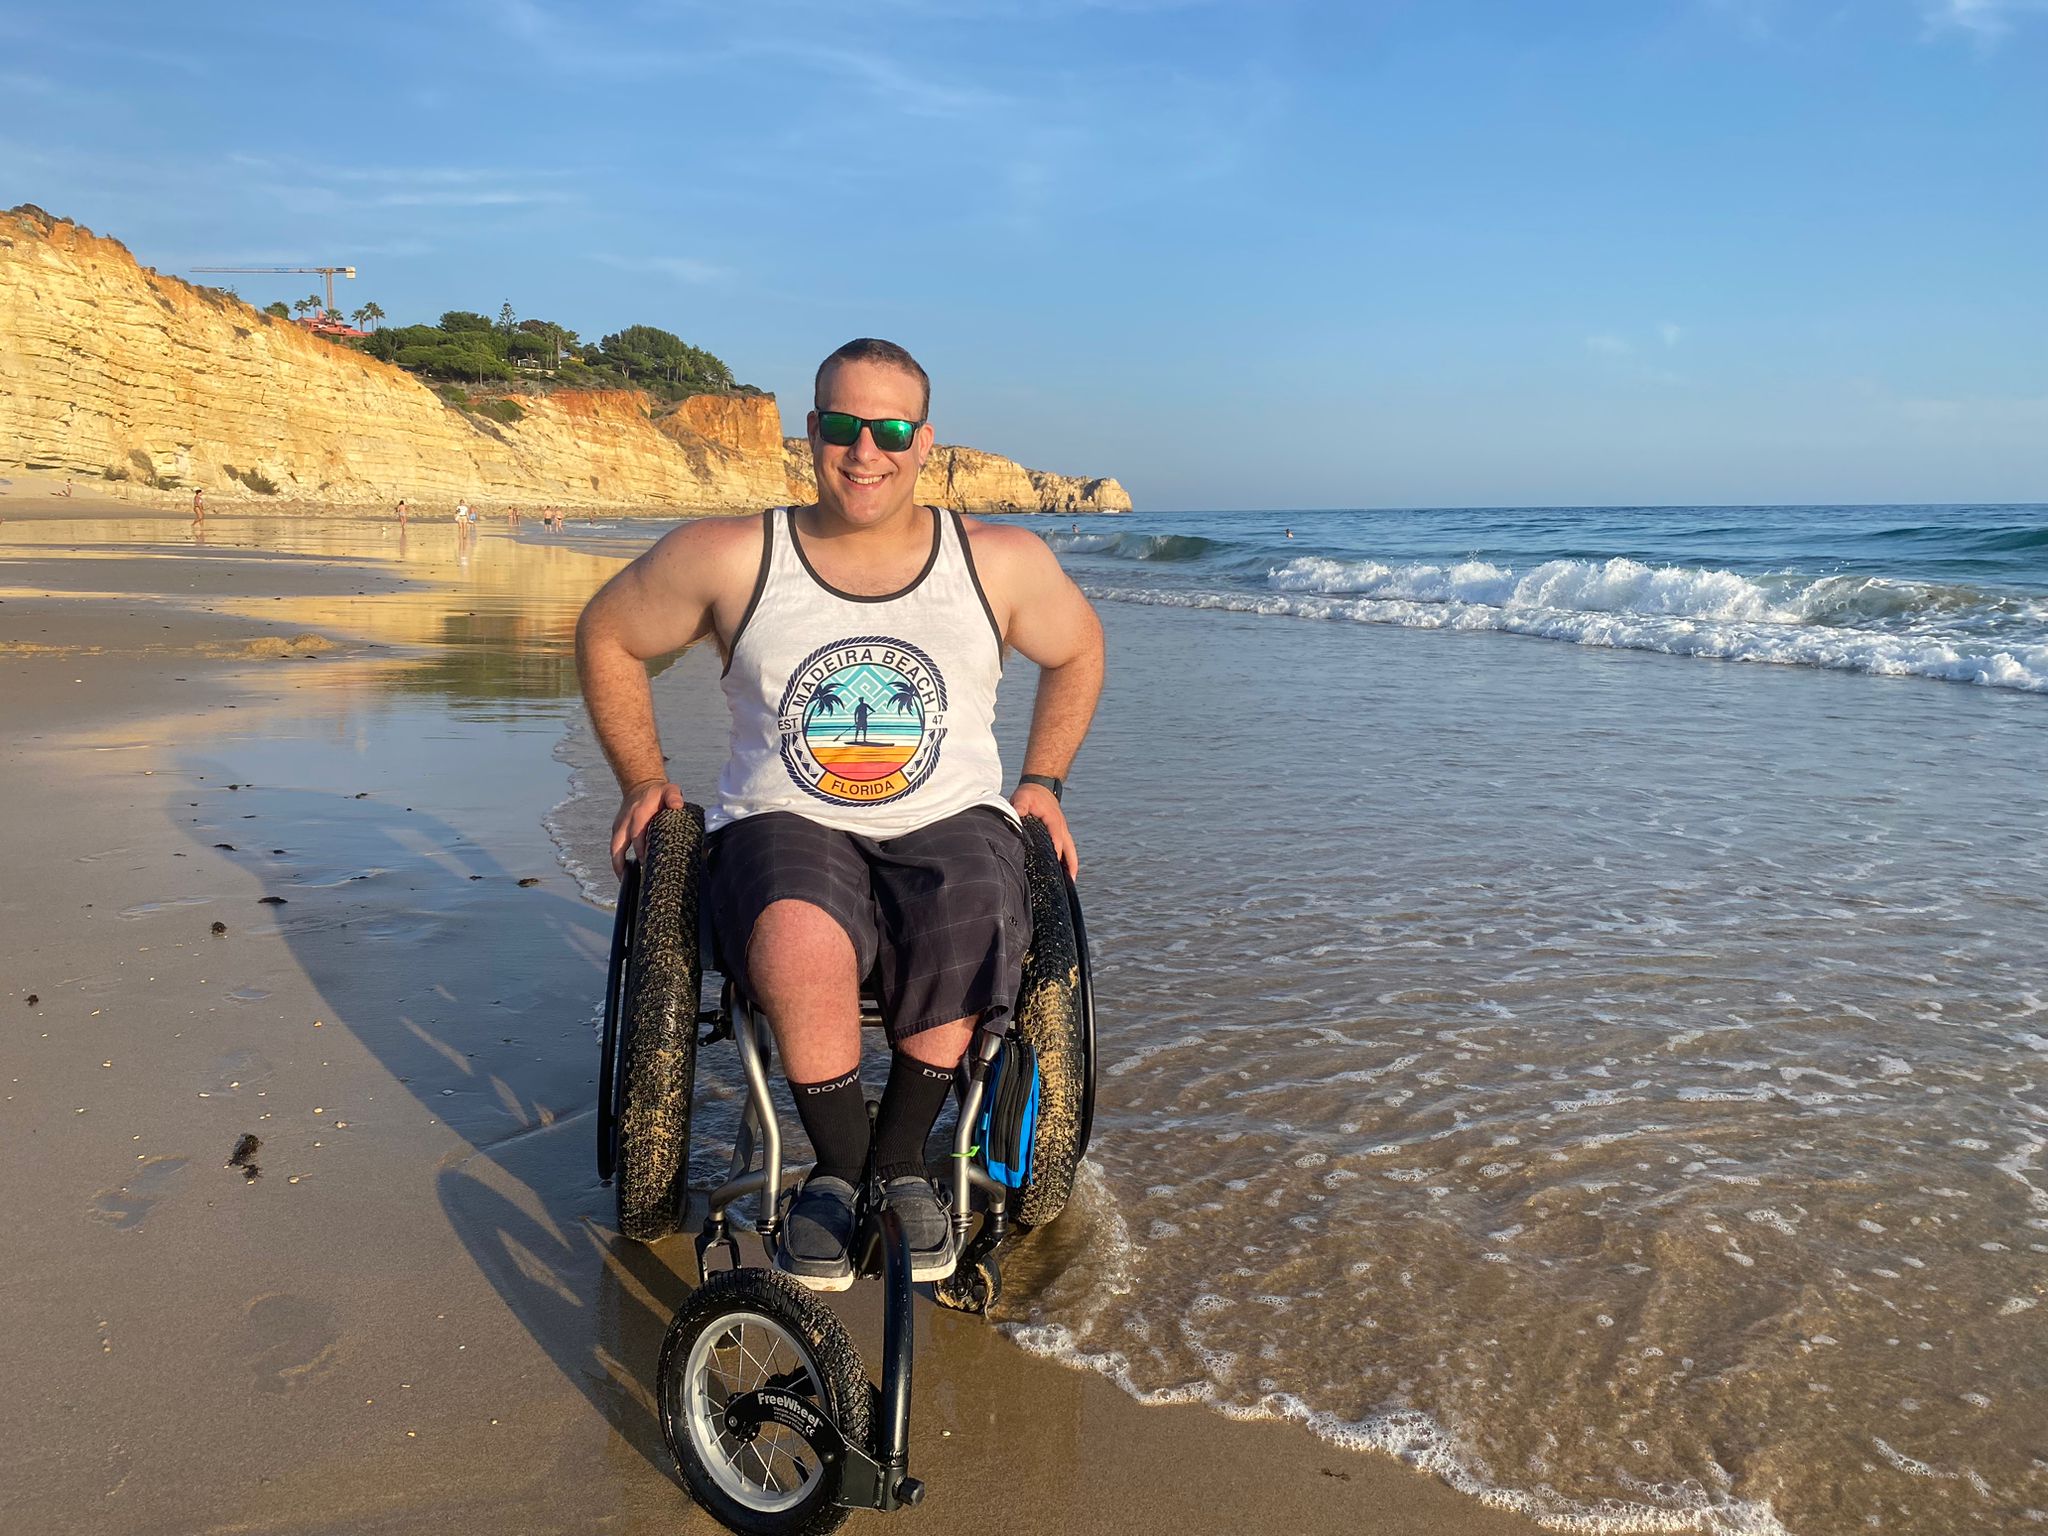
- Beach trips where front casters immediately sink into sand
- Old European cities with cobblestone streets
- Camping trips when trails are involved
- Big cities where sidewalks can be unpredictable
Where to Buy
You can pick one up through several DME providers. Livingspinal.com is where I got mine years ago, Sport Aid carries them, and you can buy directly through the Freewheel website. Most setups come standard with everything you need, though there are a few variations if you have a folding chair or a tilt-adjustable foot plate. Check those details when you order.
Getting It On Straight: A Simple Centering Trick
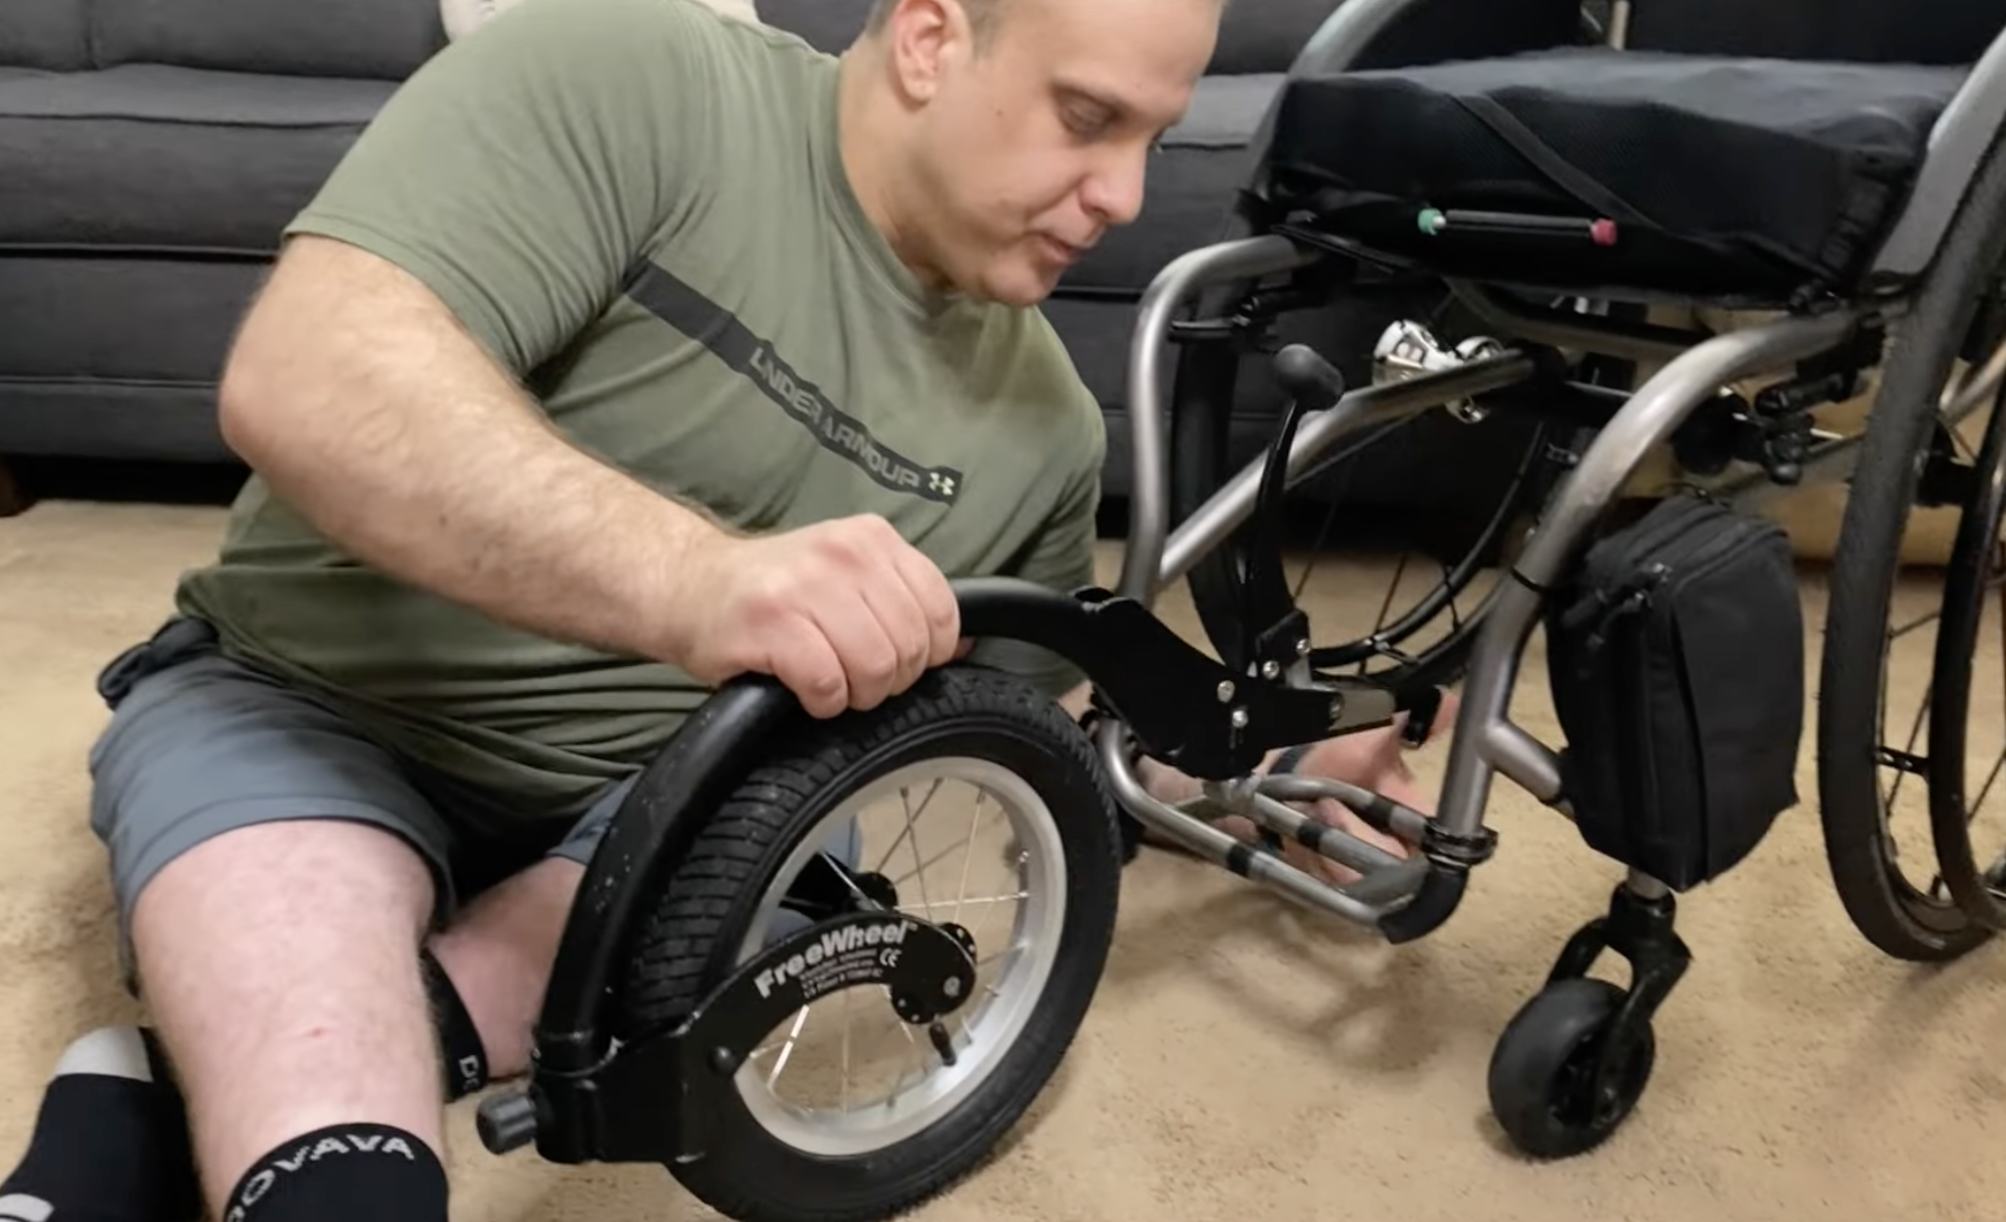
One of the more frustrating parts of using the Freewheel when you first get it: making sure it clamps on straight so your chair tracks in a straight line. Eyeballing it works, mostly, but if you're in a parking lot before a beach day, "mostly" isn't great.
Here's what I do now. Before a trip, I took the time to measure the width of my foot plate and the width of the Freewheel clamp, did the math to find the exact center of both, and then marked the center of my foot plate with a line of electrical tape. Now when I go to attach it, I align the clamp to that tape mark and I know it's on straight.
The clamp also self-corrects a bit as you tighten it down, so it won't go on severely crooked, but it can still go slightly off-center without the tape line to guide you. Once it's clamped, give it a firm tug. If it's not going anywhere, swing the wheel down into position. You're on.
How to Adjust the Ride Height
Fresh out of the box, the Freewheel might not lift your casters as high as you want. The height is adjustable, and it takes about five minutes with an Allen wrench set.
There are three bolts involved. Two side bolts hold everything in place, so loosen those first. Back them off just enough to allow some movement, but you don't need to pull them all the way out. The center bolt is the one that actually controls height: tighten it to raise the wheel (and lift your casters higher), loosen it to lower. Righty-tighty gets you higher; lefty-loosey brings you down.
Adjust until your casters are as high as you want them. I max mine out. Two to two-and-a-half inches of clearance is plenty for most terrain, and you don't lose much maneuverability. Once you're happy with the height, re-tighten the two side bolts to lock that setting in place. Don't skip that step; the center bolt alone shouldn't be carrying all the load.
One thing worth knowing: when you roll over a bump, the front of your chair rises by whatever your clearance height is. Two inches of clearance means two inches of lift on a bump. That's not a problem. It's the whole point. Just good to know what to expect the first time you hit one.
How to Dial In the Steering
The Freewheel has a spring-loaded wheel that returns to center on its own, which is how it keeps you going straight. The steering adjustment is what sets where "center" is for your specific setup.
Setting the Center Position
Two things to loosen before making any steering changes: a small set screw on the very front of the Freewheel, and a larger bolt on the bottom. Loosen both, set the wheel where you want it to default, then tighten the small set screw first (that's the one locking the center position) and the big bolt after. The Freewheel manual recommends using a torque wrench on that bottom bolt, around 20 pounds of torque, so you don't overtighten and damage anything. I don't always have one handy, but snug-without-cranking gets you there.
My honest recommendation: do the steering adjustment while you're sitting in the chair. I made the mistake of adjusting mine without sitting in it, which is harder than it sounds. You're guessing at center rather than feeling which way it pulls. If you can get a second person to hold the wheel position while you tighten, even better.
Adjusting the Resistance Knob
There's also a resistance knob that controls how hard it is to pivot the Freewheel wheel left or right. Tighter means more resistance, so the wheel holds its line firmly but fights you more when you want to turn. Looser means it responds more easily to your weight shifts and hand adjustments. I keep mine on the looser side, because a slightly loose setting is forgiving if your steering alignment isn't dialed in perfectly. It also works better with my hip mobility and lets me naturally guide direction rather than fighting the wheel.
Carrying It When You're Not Using It
The Freewheel comes with a bracket that attaches to the rear cross brace of your chair, which gives you a place to stow the attachment when you need it off the front. Swing the Freewheel off the foot plate, clip it onto the rear bracket, and it rides along behind you. It comes in handy when you're ducking into a store, navigating a tight space, or anywhere you want your front end clear.
It sits close to the ground when stowed, and the bracket angle is adjustable. The kit also includes a few different shim sizes to accommodate different foot plate shapes and cross brace dimensions, so it fits most standard manual chairs. I've used mine on multiple chairs over the years without compatibility issues.
Practical Tips Before Your First Trip
- Mark your center before you go. Electrical tape on the foot plate takes two minutes and removes all the guesswork when you're attaching in a parking lot.
- Max out the height. Two inches of clearance handles most terrain. Don't leave height adjustment on the table.
- Adjust the steering while sitting in the chair. You'll feel exactly which way it wants to pull, and you'll get it right faster.
- If it still pulls slightly, loosen the resistance knob a bit. A slightly looser knob often compensates for minor alignment issues without a full re-adjustment.
- Always tug before you go. If the clamp isn't solid, the Freewheel isn't going anywhere good. A quick tug confirms it.
- Use the stow bracket. Carrying the Freewheel in your lap while pushing is a frustrating solution to a problem the kit already solved.
The initial setup can feel a little fiddly. The manual is helpful on the height adjustment but less clear on steering. Give yourself some time to get it dialed in before a trip, not the morning of. Once it's set for your chair, it barely needs adjusting at all.
It's probably one of the best equipment purchases I've made. If you're on the fence about whether it's worth it, that's where I land after eight years of using it.
---
Know a wheelchair user who's been struggling with rough terrain? Send them this guide — it might save them a lot of frustration.
---
Disclaimer: All product mentions in this post are based on our personal experience only. Adapted Adventures is not sponsored by, affiliated with, or compensated by any brands referenced here. This content is for informational purposes only. Always consult your healthcare provider, physical therapist, or ATP before making decisions about your wheelchair equipment.


